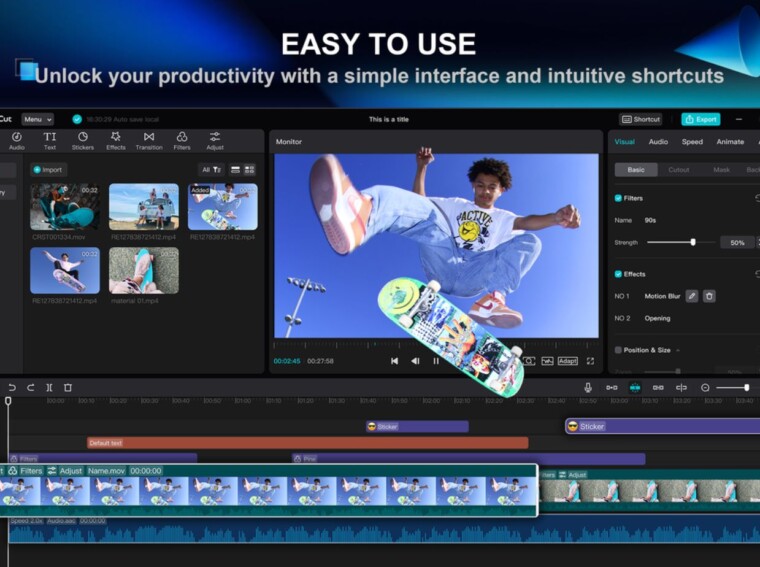
CapCut is a video editing software that makes it easy for anyone to create stunning videos. Its user-friendly design helps both beginners and experienced editors. One of the standout features is keyframe animation, which allows users to add smooth movements and transitions to their clips.
This feature is essential for making videos look professional and polished. This article will explore how to use CapCut’s keyframe feature effectively. Mastering this tool can enhance your animations and boost your video projects. Browse through the blog to learn more about creating impressive animations with the CapCut desktop video editor!
Why Use Keyframes for Animations?
Keyframes are essential in video editing. They mark the start and end points of an animation. This allows precise control over movements and effects.
Benefits of using keyframes include:
- Precise control: Adjust position, scale, and opacity exactly as needed.
- Professional effects: Create smooth zooms, pans, and transitions that enhance visual storytelling.
- Engagement: Dynamic animations keep viewers interested and improve overall video quality.
Keyframes work well with tools like video background remover. This combination allows for seamless transitions between scenes, making edits look polished. Creators can achieve a cohesive and engaging video experience using keyframes and other editing features.
Features of CapCut Keyframe Tool
CapCut’s keyframe tool is a powerful feature for video editing that allows users to create smooth animations. Here are its main features:
- Smooth animations: Users can create seamless transitions between frames, enhancing visual appeal.
- Customization options: Adjust object movement, opacity, and scaling to fit the desired effect.
- User-friendly: The tool is easy for beginners while offering flexibility for advanced users.
- Integration with tools: Keyframes work well with CapCut’s video background remover and AI caption generator. This streamlines the editing process.
This combination of features makes CapCut’s keyframe tool a valuable asset for anyone looking to enhance their video projects.
Steps to Use CapCut’s Keyframe Feature for Smooth Animations
Import Media to CapCut
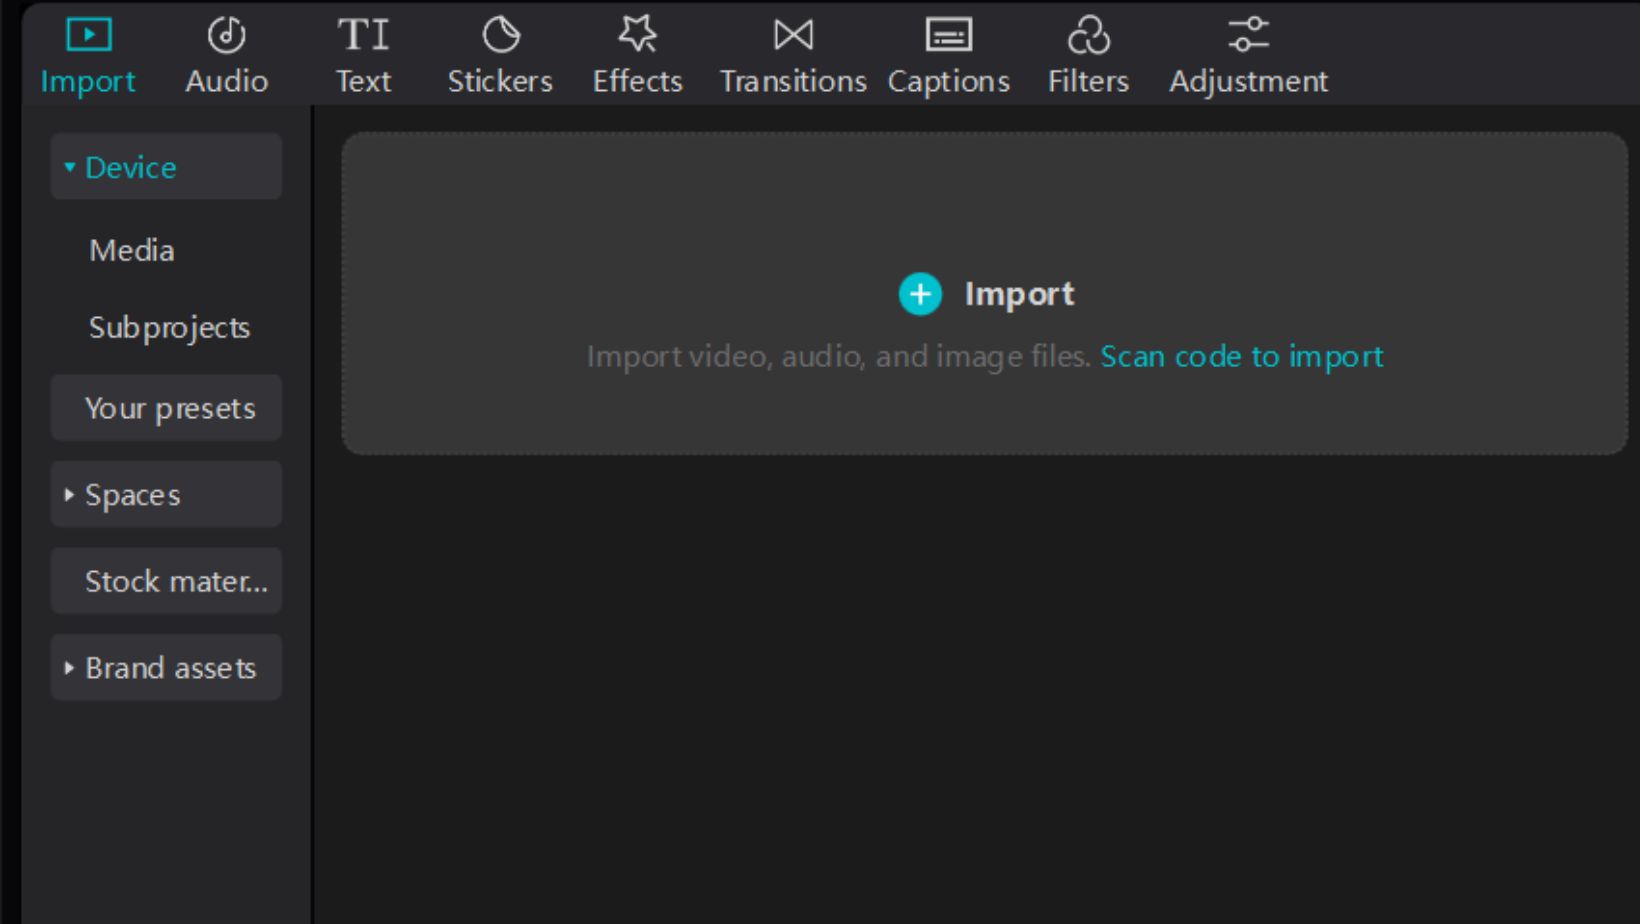
To import media into the CapCut desktop video editor, install and open the app on your device. Next, select the video clips or images you want to use. Drag them into the editing timeline for easy access. Arrange the clips in a way that flows well for your project.
This simple process makes the CapCut desktop video editor a popular video editing software choice for many users. With its user-friendly features, you can create polished videos quickly and efficiently. Enjoy editing your content with ease!

Add Keyframes to Your Timeline
To add keyframes in the CapCut desktop video editor, select the clip or object you want to animate. Next, find the “Add Keyframe” button in the editing panel. Set the initial position, size, or opacity of your object. This helps create smooth transitions and animations.
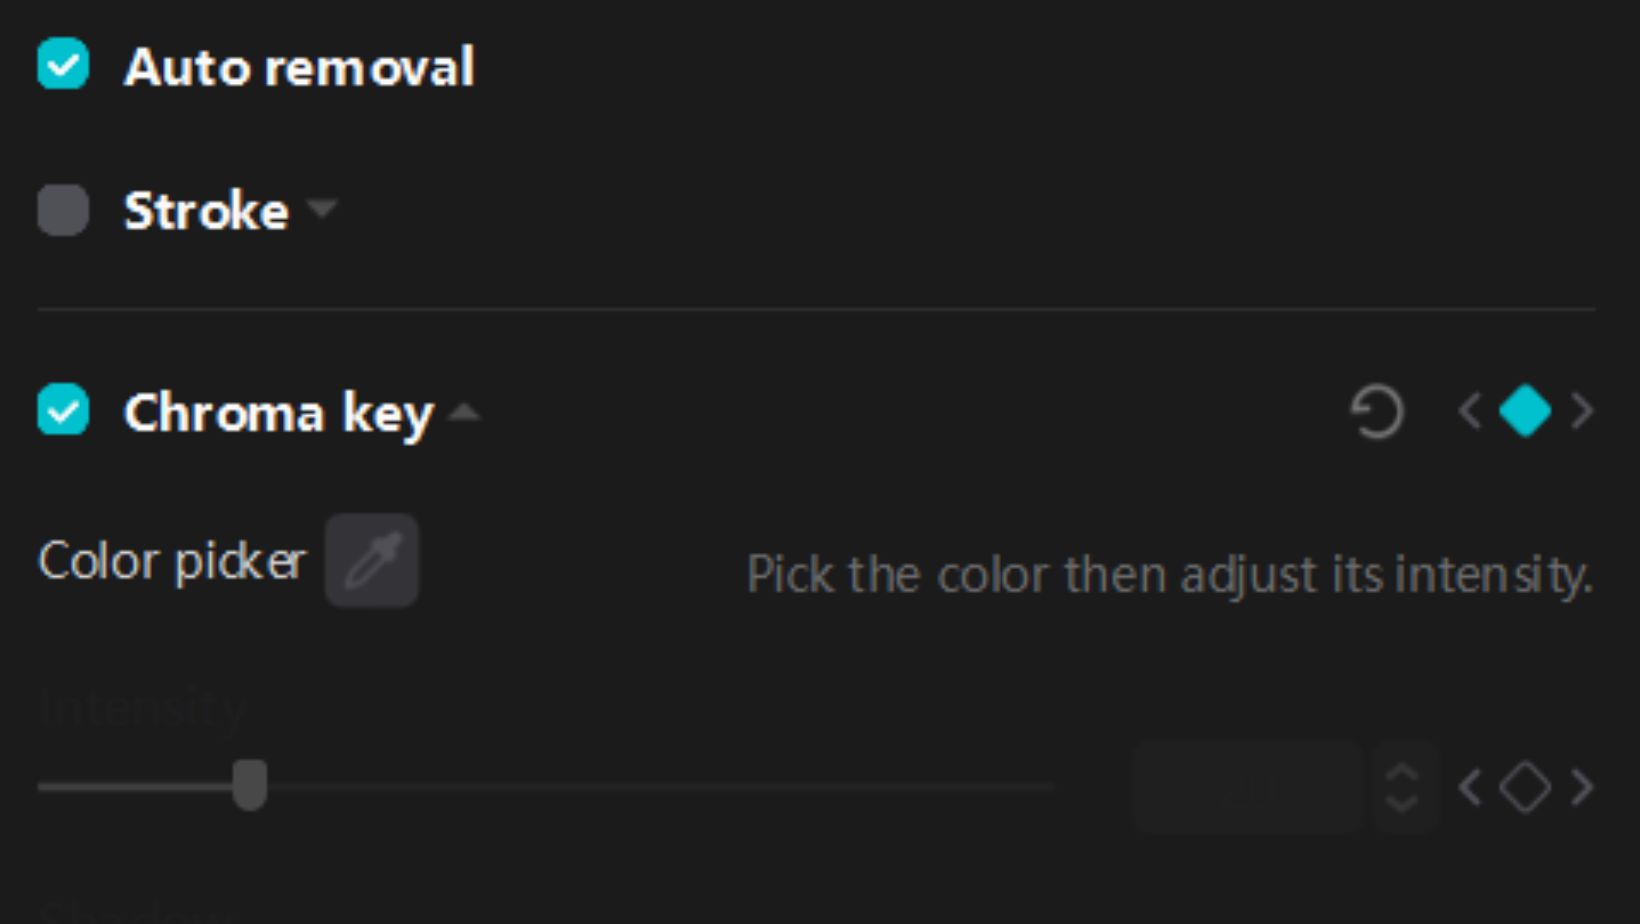
You can also use keyframes with tools like the video background remover for a cleaner look. This feature allows you to focus on your main subject without distractions. Finally, adjust the keyframes along your timeline to refine your animation for a polished finish. Enjoy creating engaging videos with these simple steps!

Customize Animation Effects
Customizing animation effects in CapCut desktop video editor starts by adjusting the movement of objects. Drag them to your desired positions between keyframes. You can add effects like scaling, rotation, or fading to create smooth transitions. This makes your animations more dynamic and engaging.
Combine these animations with captions using the AI caption generator. This tool ensures that visual and textual elements work well together, enhancing the overall flow of your video. By carefully aligning animations with captions, you create a cohesive viewing experience that captures attention effectively. Enjoy experimenting with different effects to make your videos stand out!

Preview and Refine Animations
To preview and refine animations in CapCut, start by playing the timeline to assess the animation flow. Adjust keyframes to enhance their interaction with other features, such as the video background remover, for smooth visuals. Ensure that the animation fits the video’s overall purpose or theme. This process helps create a cohesive, engaging video that captures the viewer’s attention. By refining these elements, you can significantly elevate your project quality.

Export and Share
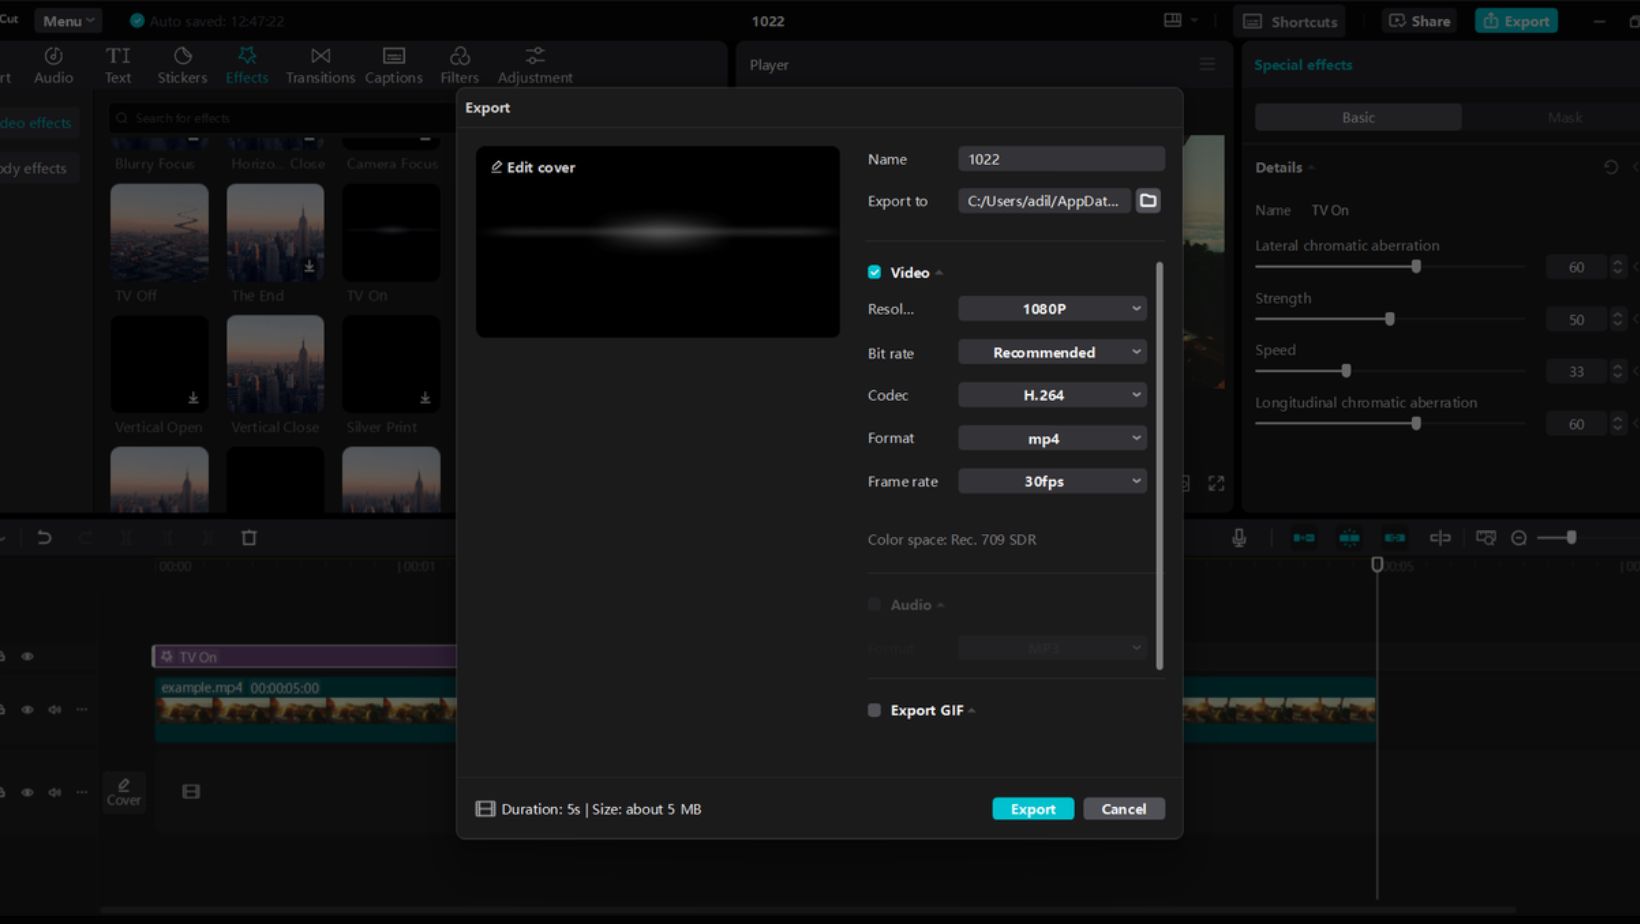
Finalize the video’s resolution and frame rate settings. Use CapCut’s strong video editing software to export your animated video. You can then share it on your preferred platforms or save it for later use. This process is simple and helps you showcase your creativity effectively.

Pro Tips for Smoother Animations with CapCut
- Keep movements subtle: This helps create a more natural look in your animations.
- Use easing options: These smooth out transitions between keyframes, making movements feel more fluid.
- Integrate animations with other tools: Video background remover can enhance your visuals and make your edits stand out.
- Add captions for accessibility: The AI caption generator can help you create captions quickly, ensuring your content reaches a wider audience.
- Experiment with timing: Adjust the duration of animations to find the right pace that fits your video style.
- Preview your work often: This lets you catch any awkward movements early and make necessary adjustments.
- Stay organized: Keep your layers and assets neatly arranged to streamline your editing process.
These tips will help you create engaging animations that look professional. By focusing on these elements, your videos will capture attention and improve viewer experience. Remember, small changes can make a big impact on your animation quality.
Wrapping Up
Using CapCut’s keyframe feature offers many benefits for creating smooth animations. Keyframes allow users to adjust elements like position, scale, and rotation. This results in professional-looking effects. When combined with tools like the video background remover and AI caption generator, the overall video quality improves significantly.
The background remover helps create clean visuals. On the other hand, the AI caption generator enhances accessibility and engagement. Together, these features empower users to produce captivating content effortlessly. Start experimenting with CapCut’s keyframe tool and other features today to elevate your video editing skills. Plus, you can create stunning animations that impress your audience.
