
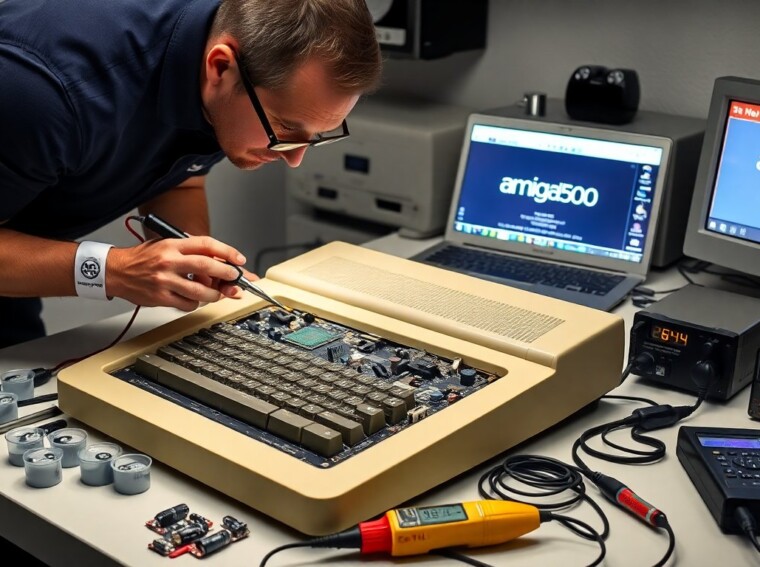
the amiga 500 thehake sets the stage for this clear guide. The author traces history, shows repairs, and lists upgrades. The text gives practical steps and quick context. Readers learn why the machine still matters and how to restore one safely.
Key Takeaways
- The Amiga 500 remains popular among gamers and retro enthusiasts due to its superior sound and graphics capabilities from its 1987 release.
- The Amiga 500’s Motorola 68000 CPU and custom chipset enabled smooth gaming and multimedia performance despite limited CPU speed.
- Restoring an Amiga 500 involves careful cleaning, testing power supply and logic board, and replacing worn components like capacitors and keyboard parts.
- Essential tools for restoration include Phillips and Torx screwdrivers, anti-static straps, multimeters, and labeled containers for parts.
- Common Amiga 500 issues often stem from power supplies, dry solder joints, and floppy drive problems, all fixable with targeted repairs.
- Modernizing the Amiga 500 can include installing Gotek drives, memory expansions, FPGA accelerators, and adapters for contemporary displays to enhance usability.
Why The Amiga 500 Still Matters To Gamers And Retro Enthusiasts
The Amiga 500 kept a strong fan base after its 1987 release. It offered better sound and graphics than many rivals. Players felt games looked and sounded richer. Collectors value original hardware and cartridges. Hobbyists enjoy learning low-level hardware and classic OS design. TheHake recounts long nights playing platformers and demos. He notes how communities keep disk images and schematics alive. The Amiga 500 acts as a teaching tool for game design and electronics. It also sells well at swap meets and auction sites.
Key Technical Specs And How They Shaped Performance
The Amiga 500 used a Motorola 68000 CPU at 7.16 MHz in NTSC regions and 7.09 MHz in PAL. The chipset provided custom chips for graphics and audio. The machine shipped with 512 KB of Chip RAM and a floppy drive. These parts let it run smooth side-scrollers and detailed demos. The Paula chip handled four-channel audio playback. The Agnus chip controlled memory and display modes. The limited CPU speed pushed developers to optimize code tightly. The hardware mix gave the Amiga 500 a clear advantage in multimedia tasks for its era.
TheHake’s Restoration Journey: From Yellowed Shell To Working Machine
TheHake found a yellowed unit at a flea market. He tested the power supply and the logic board before he started. He documented each step with photos and short notes. He cleaned the keyboard, removed corrosion, and replaced worn caps. He used breathable detergent on the plastic and mild abrasion to even the color. He tested the floppy drive with a known-good disk and a Gotek image emulator. He confirmed video output with a modern SCART adapter and a basic CRT. He recorded the serial number for future reference and for parts ordering.
Tools, Parts, And Prep For A Successful Amiga 500 Restore
TheHake lists a compact toolkit for restores. He recommends a Phillips and Torx screwdriver set, anti-static wrist strap, and small brushes. He suggests replacement electrolytic capacitors and connector cleaners. He advises a bench power supply with current limit for first tests. He uses a multi-meter to check voltages and continuity. He keeps a known-good floppy or a USB Gotek loader for software tests. He stores screws and small parts in labeled containers. He stresses clear photos before disassembly so reassembly goes fast and correct.
Common Problems And How TheHake Fixed Them
TheHake encountered a dead unit that showed no video. He traced the fault to dry solder joints on the Denise chip. He reflowed joints with a fine-tip iron and added flux. He replaced swollen capacitors on the power rail to stop brownouts. He fixed sticky keys by removing the switch foam and washing the keycaps. He repaired a faulty floppy drive by cleaning heads and realigning the belt. He found that many failures came from power supplies, and he recommends testing them first.
Best Mods, Upgrades, And Software Tips To Modernize Your Amiga 500
TheHake upgrades machines with modern mods and small software tweaks. He uses an SD-based Gotek drive to replace floppies. He fits a CompactFlash or SD IDE adapter for faster disk access. He installs a Kickstart ROM switcher to test different OS versions. He recommends a memory expansion to 1 MB or more for better multitasking. He tries the Vampire FPGA or accelerator cards for higher CPU speed when speed matters. He runs WHDLoad to play hard-to-run disk games from image files. He pairs the Amiga with a VGA or HDMI adapter to connect to modern displays.